Readers searching for glm will find a practical route from a picture to printable geometry, with help choosing lithophanes, AI figurines, reliefs or silhouettes and checking models before slicing.
The right picture-to-print method depends on the object you want: a glowing photo panel or a figure you can turn around. I’ll show you how to choose, prepare the image, and check the resulting model before slicing.
The short version
- Make a lithophane if you want a photo to appear when light passes through a printed panel.
- Make an AI figurine if you want a person, pet or object represented from every side.
- Use a relief for an image that already encodes height, or an extruded silhouette for a clean logo or outline.
- Before printing, check the model’s scale, orientation, thin features and sliced layers.
Start with the result you want
A JPG or PNG contains colored pixels, not printable volume. Before a slicer can produce toolpaths, those pixels must become geometry. The useful question is not which file extension to choose first, but what physical object the picture should become.
For a portrait displayed near a light, I would start with a lithophane. Its bright areas are thin enough to pass more light; its dark areas are thicker and block more. For something that belongs on a shelf and can be viewed from behind, I would choose a full 3D model. That route must invent surfaces the camera never captured, so it produces an interpretation, not a scan.
If you need to settle a related format or workflow question before starting, 3D Studio’s 3D printing guides collect explanations of picture-based printing, file formats and AI model preparation. Decide on the object first, then use the relevant guide for the next decision.
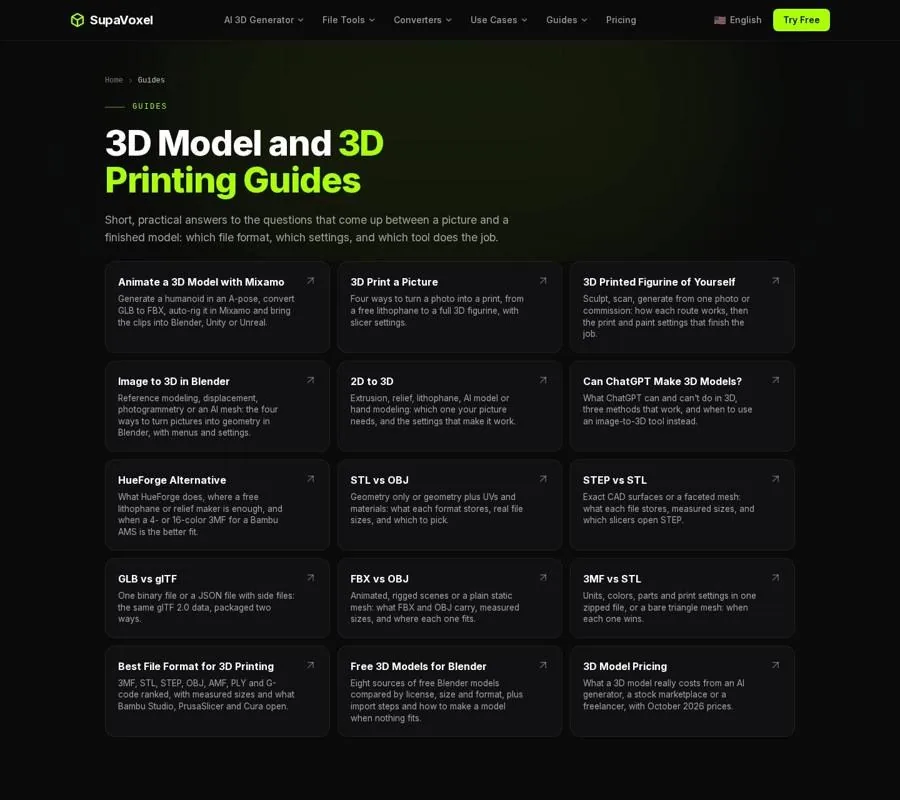
The Guides page organizes help by file format, picture-printing task and AI workflow.
Make a lithophane when light is part of the design
A lithophane is a good match for a photo because it converts brightness directly into wall thickness. It does not need the picture to contain depth information. It does need a suitable place for light behind the finished print; without backlighting, the image can be hard to read.
Pick an image whose subject separates clearly from its surroundings. Side lighting can define a face, an uncluttered wall can help a pet stand out, and a distinct sky can give a landscape contrast. A dim picture with a busy background is harder to rescue than a well-exposed one.
3D Studio’s lithophane maker processes PNG, JPG and WebP photos in your browser, accepts files up to 25 MB, and downloads a closed STL or 3MF. The maker is free to use and does not upload the photo.
- Pick a shape. Choose Flat, Curved, Lamp, Circle or Heart. If you choose a flat panel, consider a frame and either a hanging loop or a foot, depending on how you will display it.
- Size the piece. Standard widths run from 40–250 mm; the Lamp setting allows a circumference of up to 400 mm. Think about the available light and display space rather than filling the entire build plate.
- Adjust the image. Crop around the subject, then use brightness, contrast and gamma while watching the backlit preview. Judge the illuminated picture, not just the surface relief.
- Choose the walls. The starting thicknesses are 0.8 mm for highlights and 3.0 mm for shadows. In white PLA, the suggested ranges are 0.7–0.9 mm at the thin end and 2.8–3.1 mm at the thick end.
- Download and slice. STL is a straightforward single-color choice; 3MF records units explicitly. Keep the model upright, as exported.
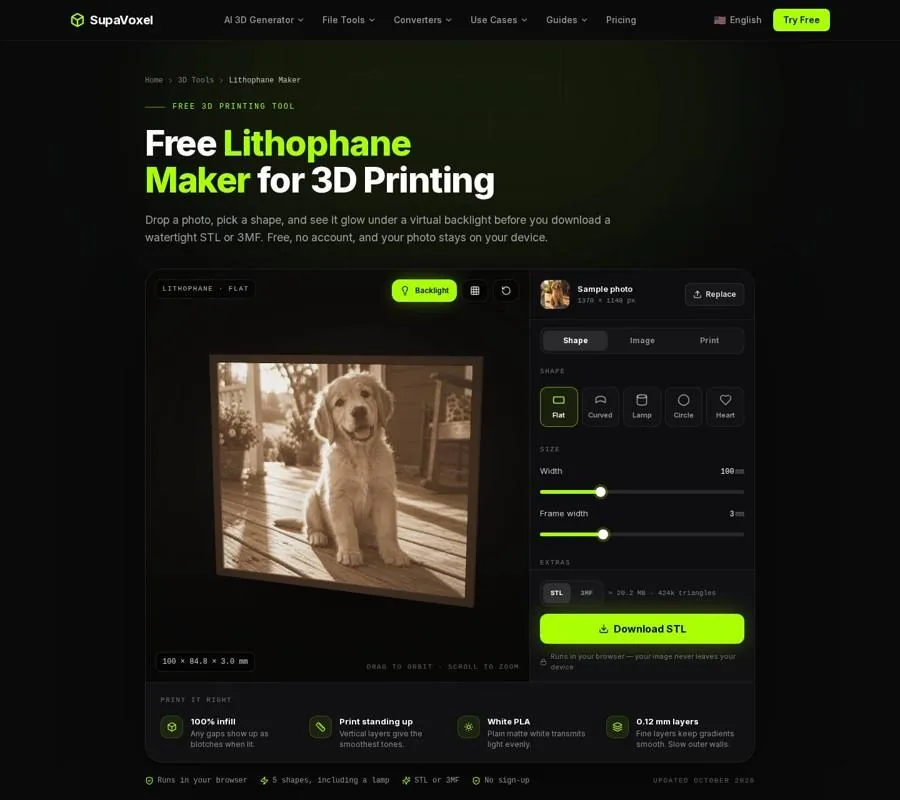
The maker’s simulated backlight helps reveal how crop and tone adjustments affect the finished panel.
For a 0.4 mm nozzle, begin with white PLA and 0.12 mm layers. Use 100% infill, or at least 7 walls so the picture area is solid. Otherwise, an infill pattern may interrupt the intended changes in thickness. A 10–20 mm brim helps a tall, narrow panel stay attached to the bed. Print it standing rather than lying flat: that orientation produces smoother tonal changes.
Finally, test it against a window or a white LED. A pale panel with slight bumps may be exactly right when unlit. If the illuminated image still looks muddy, revisit the crop and contrast before changing the printer settings.
Make a figurine when you want a model from every side
Choose a figurine for a subject that should have a front, back and sides: a person, pet, character or object. Unlike a lithophane, this process has to estimate parts hidden in the source photo. That makes the image important, but it also sets a limit on likeness.
3D Studio’s guide to making 3D figures walks from photo selection through mesh preparation, slicing and finishing. It compares a photo-generated figure with sculpting and scanning, which is useful if accurate proportions matter more to you than a quick starting model.
- Prepare the subject. For a person, include the full body against an uncluttered background, with even light and a pose that leaves the outline visible. Avoid a cropped selfie or a group shot. Additional views can help with hidden surfaces; the picture workflow accepts up to 4 extra angles.
- Generate the geometry. An untextured model costs 1 credit and is usually ready in under a minute. New accounts get 3 free credits at sign-up. For a single-color print, start with geometry rather than paying for texture you will not use.
- Rotate and inspect. Look behind the head, beneath the arms, around the hands and between the legs. If the inferred pose is wrong, try a clearer source image before investing time in print preparation.
- Prepare a printable solid. Repair open geometry and consider a base if narrow ankles or an uneven stance make the figure unstable. The in-studio print-prep features for generated models are included in every paid plan from $25 a year.
- Set scale and supports. A desk figure at 75–120 mm tall gives facial features more room than a miniature. For FDM, start with 0.08–0.12 mm layers, 3 walls and 10–15% infill. Place tree or organic supports beneath necessary overhangs, keeping marks away from the face where possible.
If you want filament color derived from the picture, textured generation costs 3 credits and typically takes 3 to 5 minutes. The studio can export a textured model as a 4- or 16-color 3MF for a Bambu AMS; direct STL and 3MF downloads require a paid plan. Color will not fix missing fingers or weak ankles, so inspect the geometry first.
Use the picture guide as a decision tree
Lithophanes and figurines are not the only useful outcomes. 3D Studio’s 3D print a picture guide compares them with a raised relief and an extruded outline, helping you match the source image to the object you intend to make.
- Backlit photograph: Choose a lithophane. Differences in brightness control how much light crosses the plastic.
- Raised plaque: Choose a relief when you have a grayscale heightmap. Its light and dark areas represent high and low geometry.
- Logo or keychain: Choose an extruded silhouette when the source has a clean boundary that can become a cut-out shape.
- Viewable-from-all-sides subject: Choose an AI figurine, accepting that its unseen surfaces are estimates.
The distinction between a photo and a heightmap matters. A bright patch on a portrait might be a reflection, not a raised part of the face. Feeding ordinary photographic brightness into a relief workflow can produce convincing-looking steps in the wrong places. If the desired result is a recognizable photo rather than actual topography, use transmitted light instead.
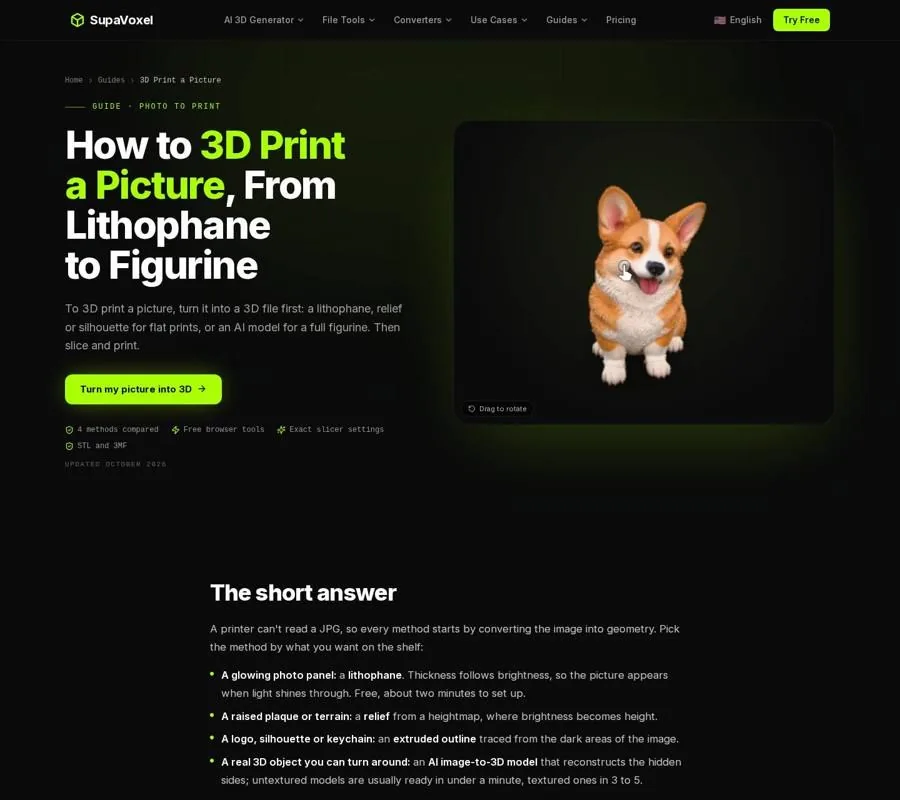
The picture guide compares the physical results of lithophanes, reliefs, silhouettes and figurines.
Check the file before slicing
I make a final inspection before committing filament or resin. It catches problems that a good-looking model preview can hide.
Check the overall shape and scale. Confirm that you made the object you intended, then set its dimensions in the slicer. Enlarging a figurine can make delicate features more printable; enlarging a lithophane also changes where it can be displayed.
Keep the right orientation. The lithophane maker supplies its file upright, which is how it should print. A relief or silhouette generally lies flat. For a figurine, inspect where supports will touch visible surfaces and whether the feet or base meet the bed.
Look for a closed mesh. A watertight model encloses a volume. Open edges or non-manifold connections leave the slicer to guess what should be inside, which can produce holes or missing layers. Repair that geometry before treating the slice as reliable.
Inspect thin features. Bright lithophane areas can develop gaps if made too thin. On figures, wrists, ankles, whiskers, glasses and tails may need thickening or a larger print scale. A stand base can also help a narrow-legged figure remain stable.
Preview every critical layer. Check the first contact with the bed, unsupported islands, unexpected fills and missing sections. For a lithophane, verify that the image region is solid. For a figure, check supports beneath overhangs without letting them cover the details you most want to keep.
FAQ
Is a lithophane or figurine better for a photo gift?
Choose a lithophane if the finished piece can sit near a light. Choose a figurine if the subject should be an object that can be viewed from all sides.
Can a normal phone photo become a 3D model?
Yes. A lithophane uses the photo’s brightness directly. An AI figurine estimates the unseen geometry, so expect an approximate likeness rather than a measured copy.
Why does my picture print have holes or missing sections?
For a lithophane, check wall thickness and make sure the image area slices solid. For a figurine, inspect for open or non-manifold geometry, repair it, and examine the sliced layers before printing.